Sticker Application Instructions
Need help applying your new large transfer sticker? Don’t worry we have step by step instructions on how to apply your sticker to fit perfectly!
We also offer application tools at a low price to help remove any air bubbles while protecting the quality of your sicker.
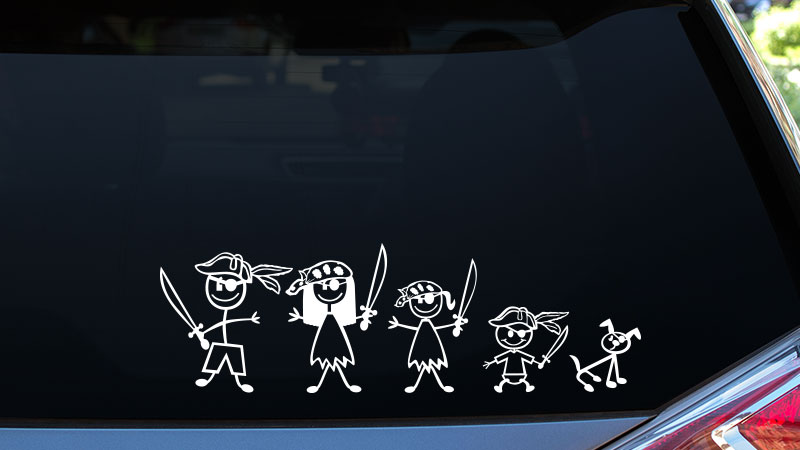
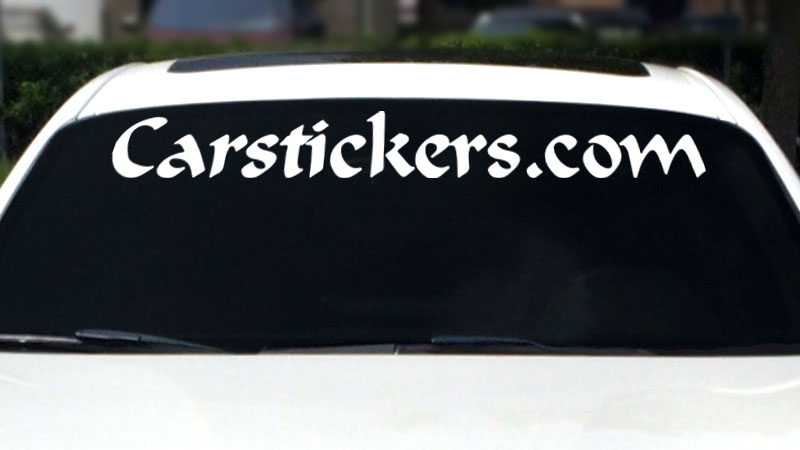
If you need help applying any other types of stickers we also have guides for Small Stickers or Decals, Large Die-Cut Stickers, Large Windshield Stickers, Transfer Sticker Preparation and Family Stickers. We are also available through live chat, phone and email to answer any of your sticker and decal questions.

Large Transfer Sticker Application Instructions
Items Needed
 Sticker
 Ruler
Ruler Masking Tape
 Cleaning Solution
 Paper Towels
 Straight Edge
Application Steps
-

Step 1
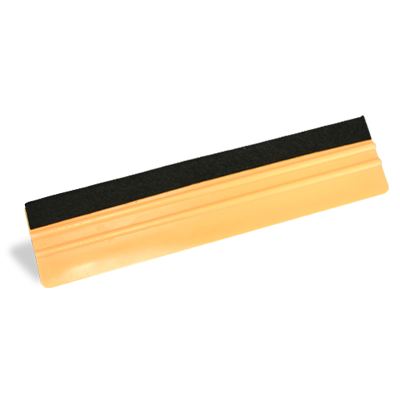
Prepare the sticker for application by firmly rubbing a squeegee or credit card across the clear transfer tape. This removes any air bubbles that may have formed and makes the sticker cling to the transfer tape.
-

Step 2
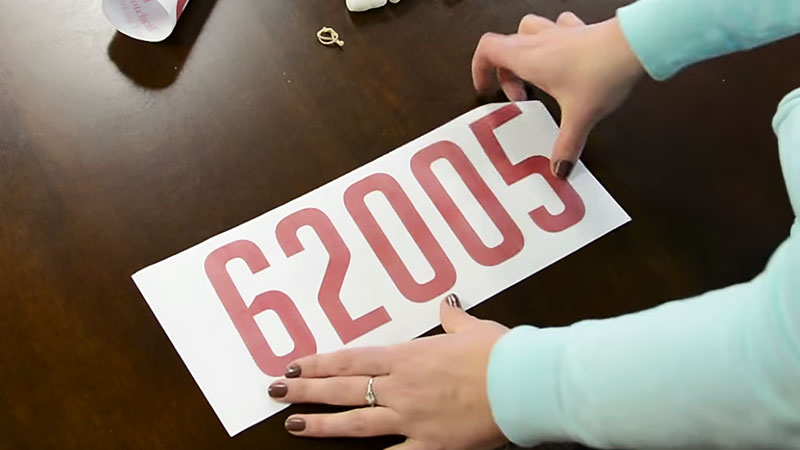
Clean the area with rubbing alcohol or soap and water. Do not use Windex. Place the sticker in the desired location with a piece of masking tape on the top of the sticker to hold it in place. Cut into 3 parts between letters.
-

Step 3
Lift the sticker up and peel the white paper backing off the sticker. Be careful not to pull the masking tape off. Hold on to the bottom of the sticker.
-

Step 4
Slowly lower the sticker and rub it in place with a squeegee or credit card. Start at the top middle and then the outer edges. Firmly rub the sticker in place to make sure there is no air trapped under the sticker. Repeat for each part.
-

Step 5
For best results wait 24 hours then slowly peel the clear cover off at an angle. Be careful not to pull the sticker off the surface. If the sticker pulls away from the surface repeat step 4.